How to create a new business monitor in Advise
You can have, for example, one monitor for the general manager, one for the board of directors, etc.
This guide will walk you through the process of creating a New Business Monitor in Advise.
Go to bm.advise.is
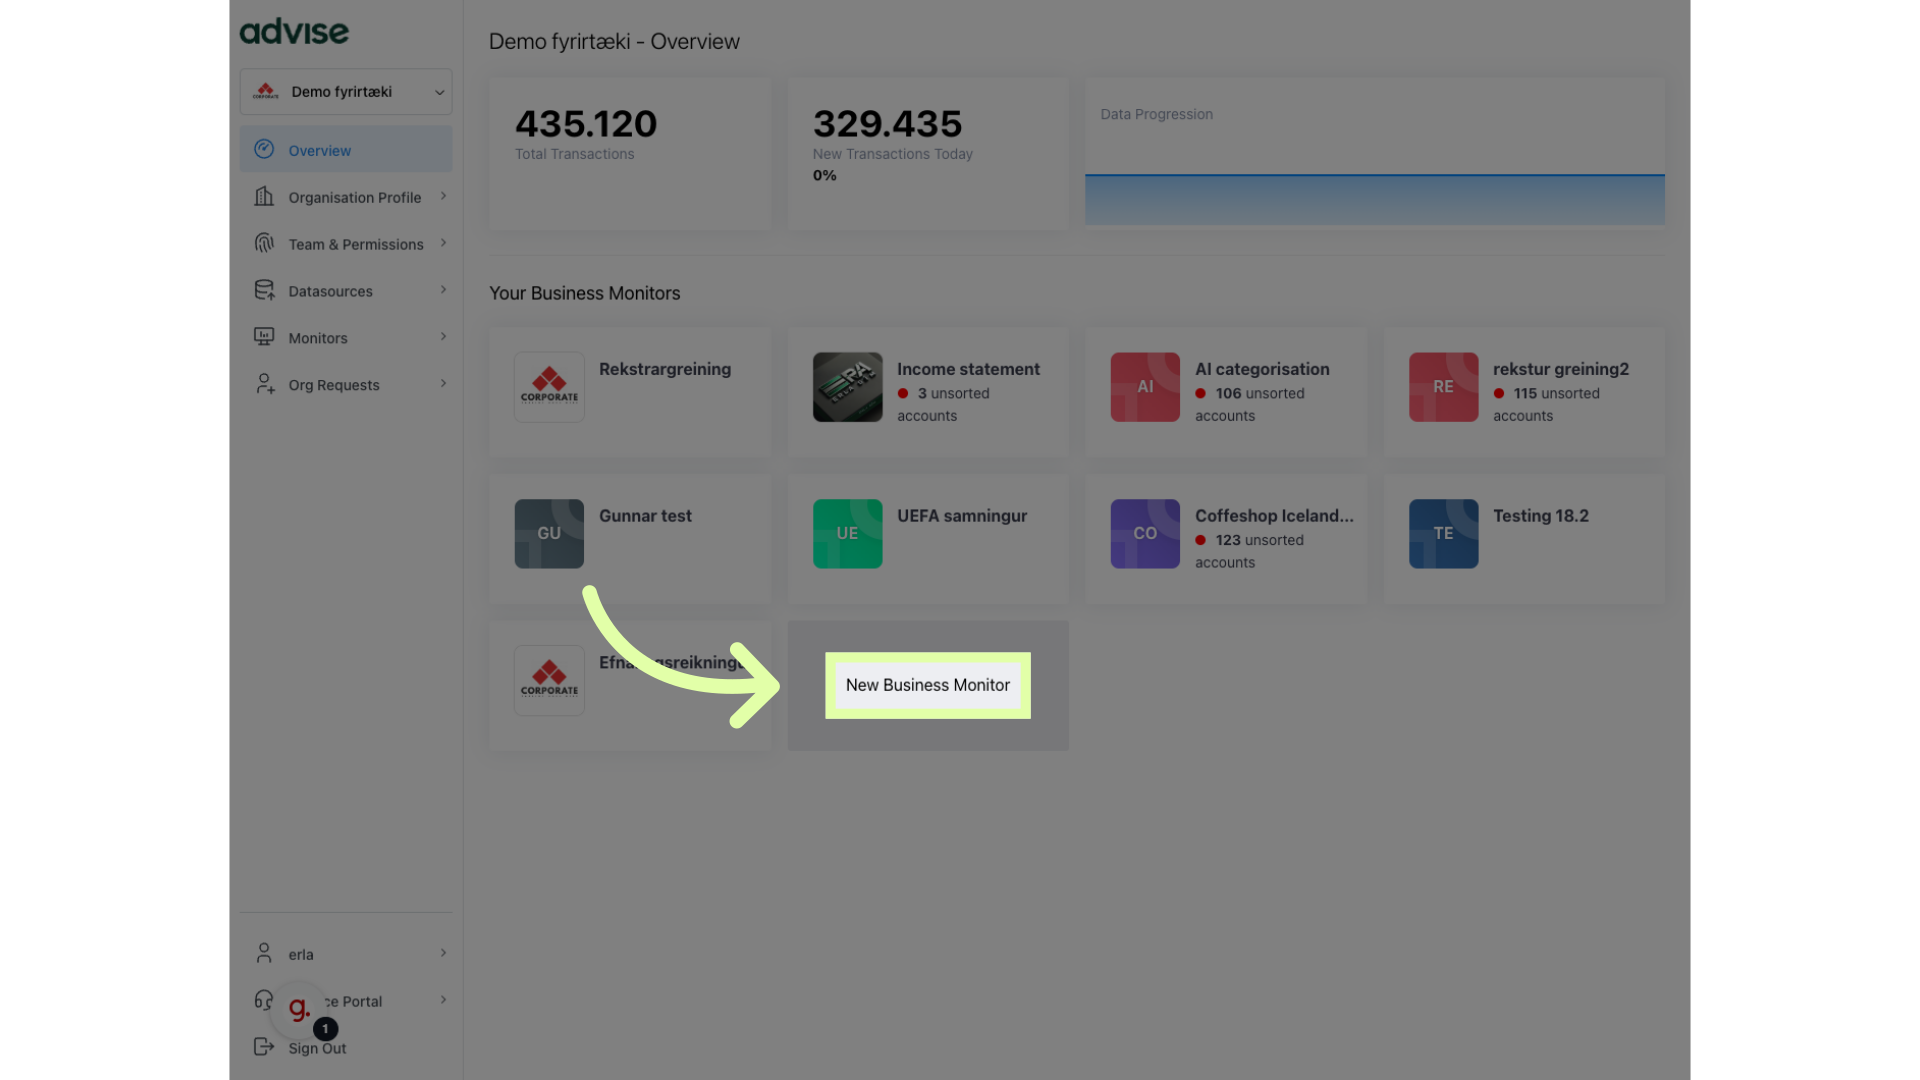
1. Click "New Business Monitor"
Select "New Business Monitor".
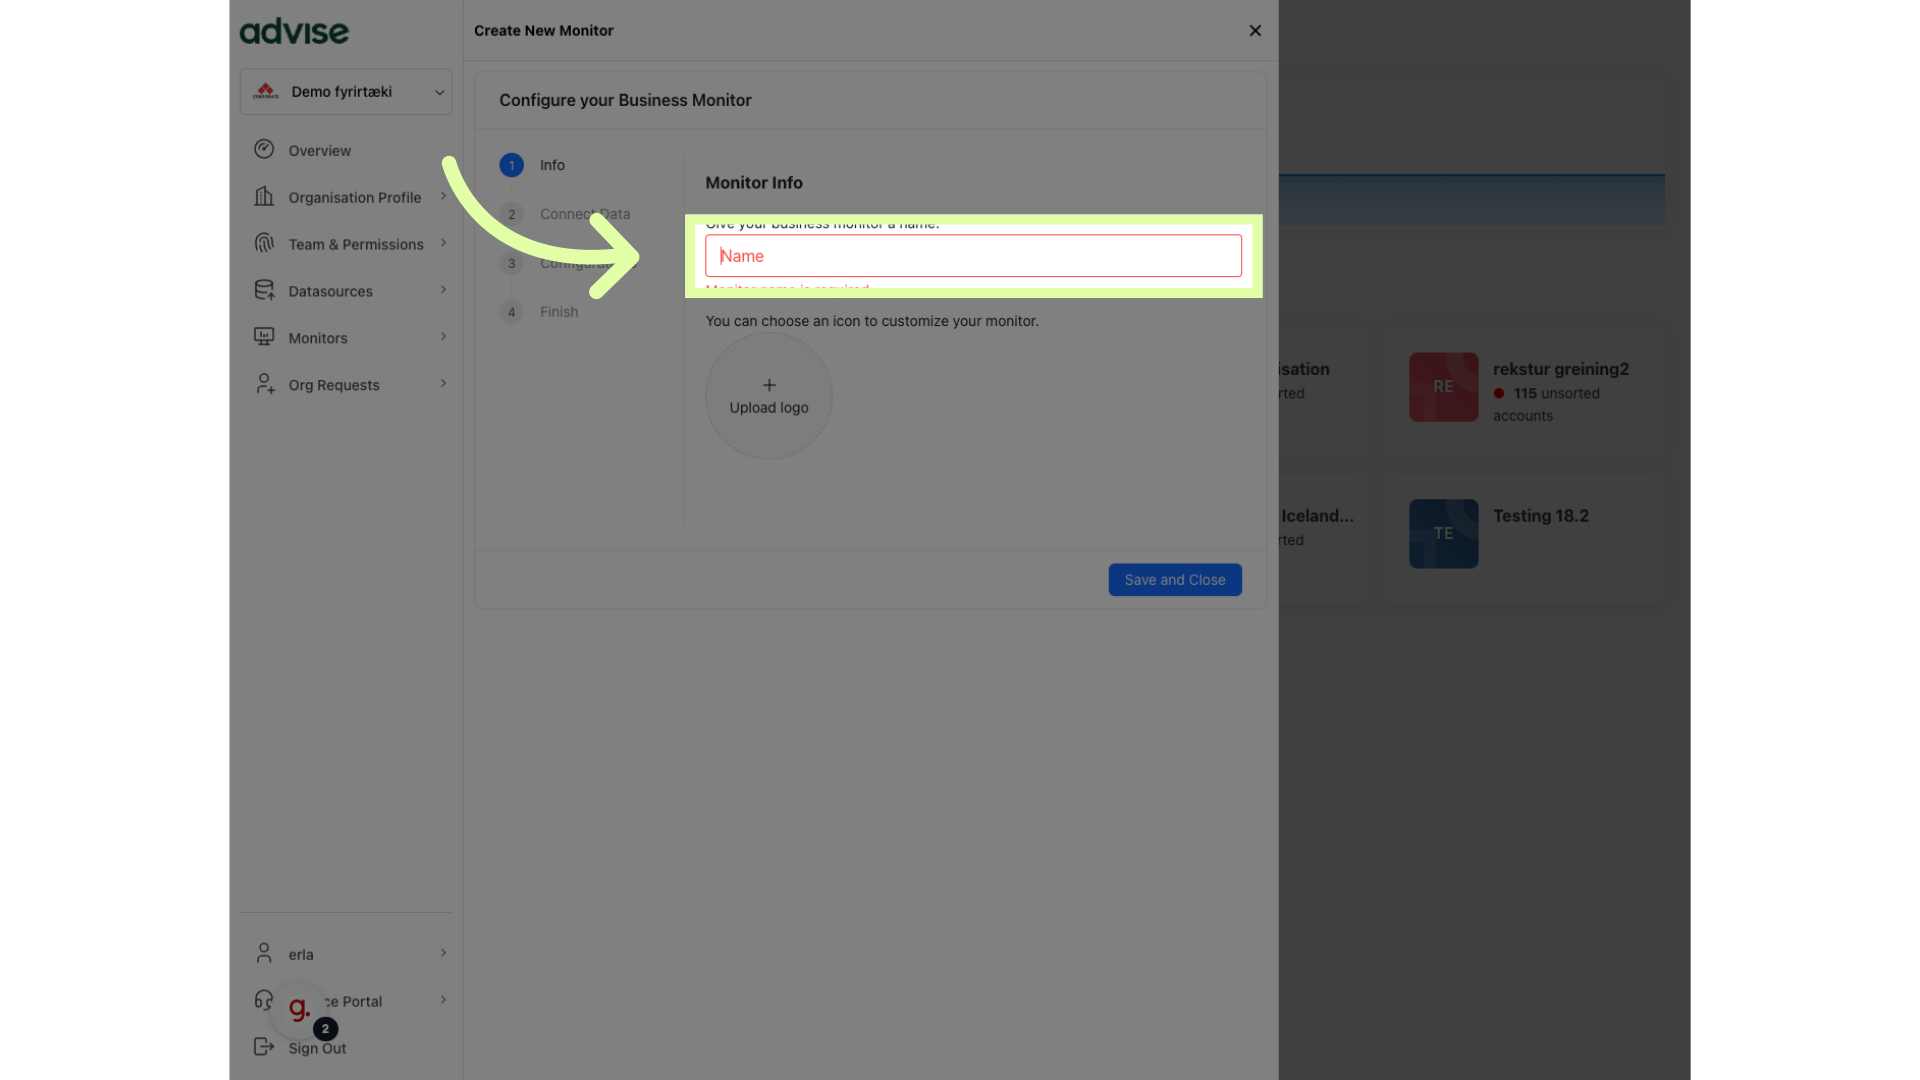
2. Click "Name" to give the monitor a name
Enter a name for the monitor.
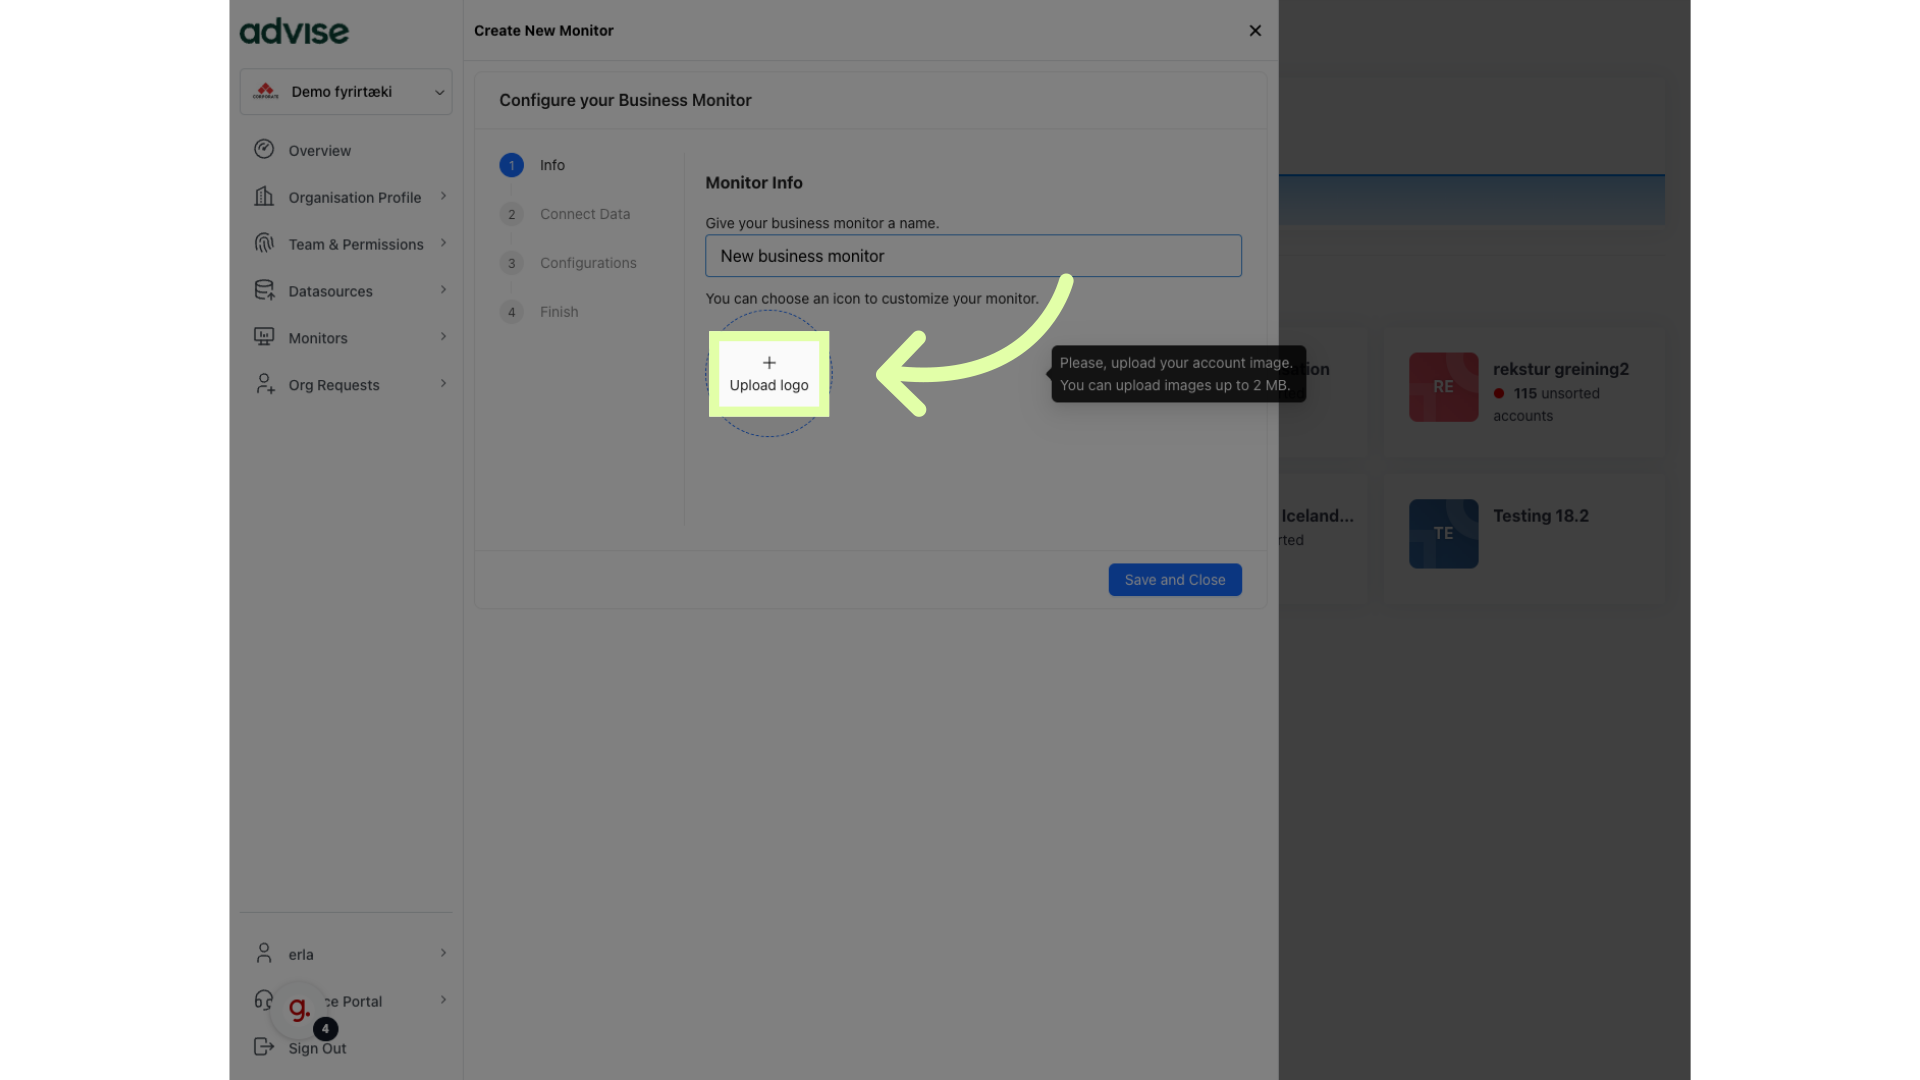
3. Click "Upload logo"
Upload a logo for the monitor.
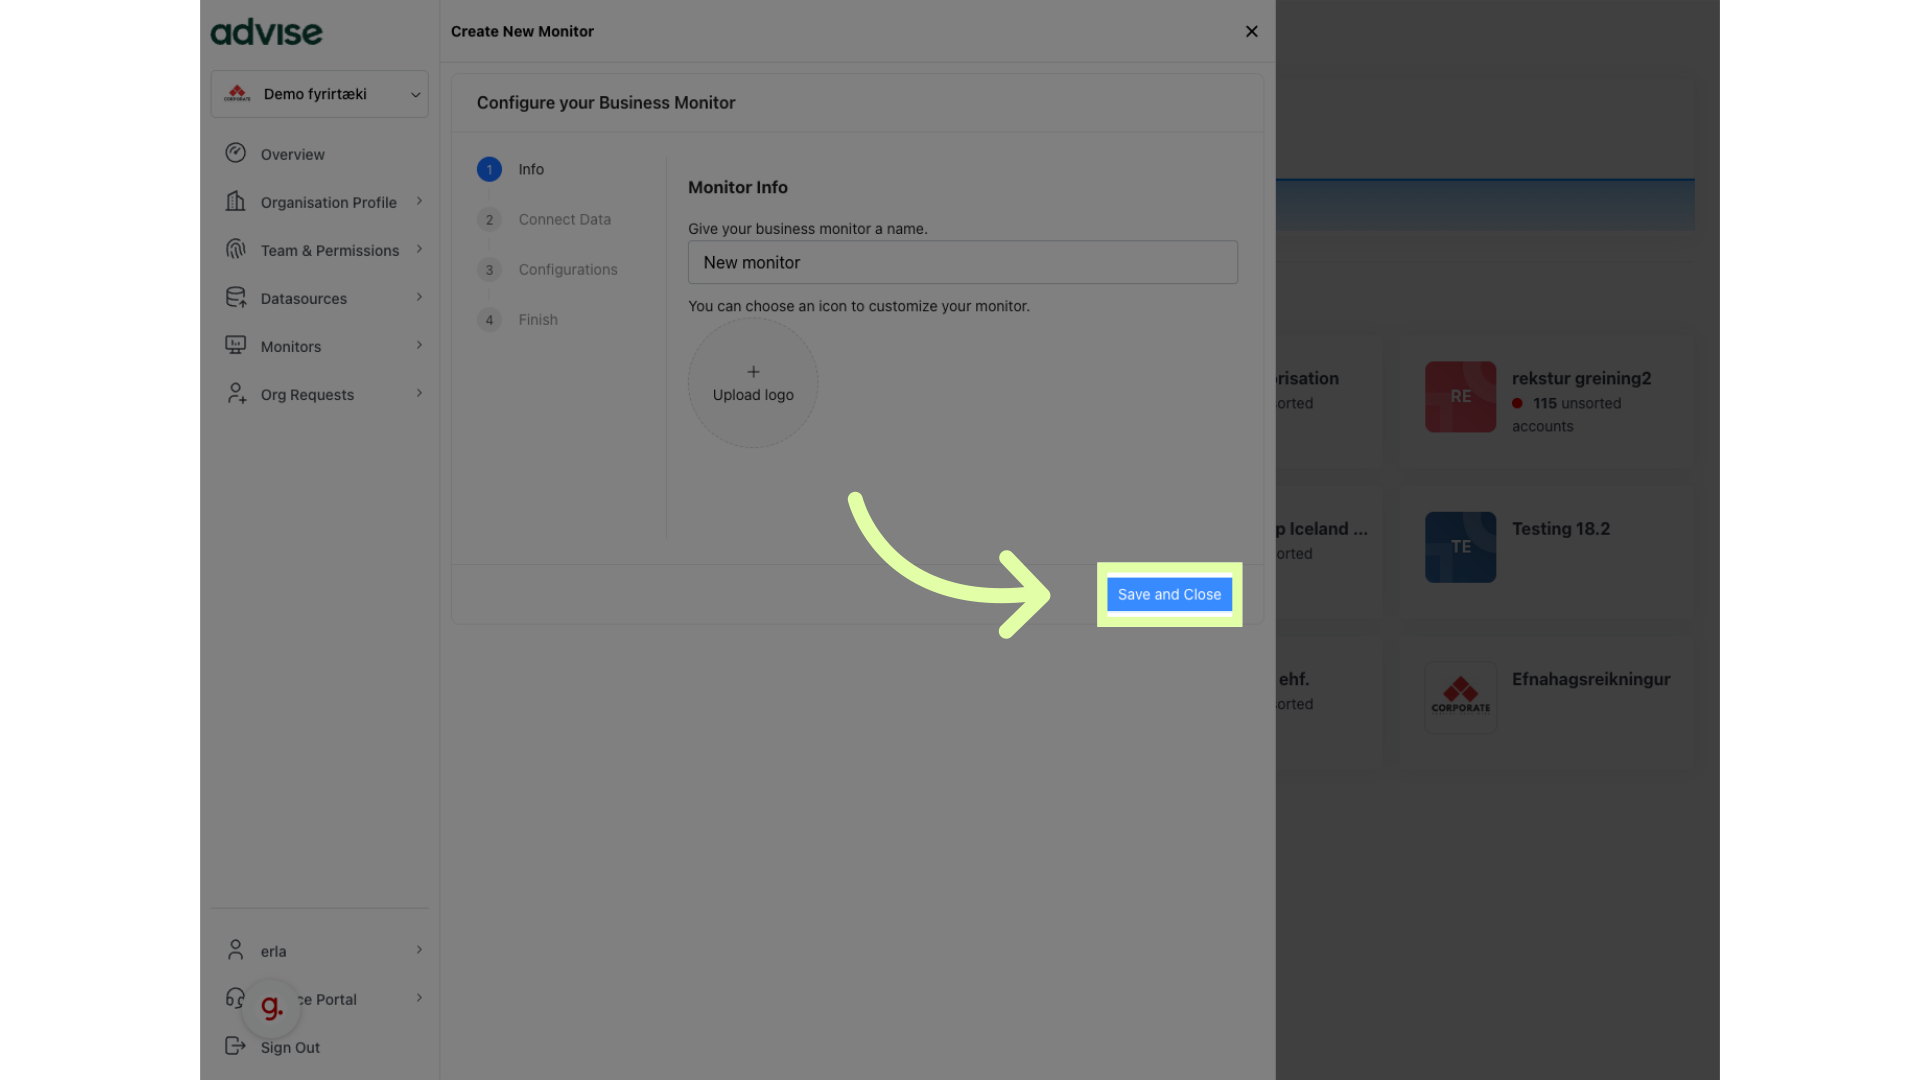
4. Click "Save and Close"
Save your changes.
5. Click here to connect your datasource
Click to connect your organisation Data sources to your business monitor

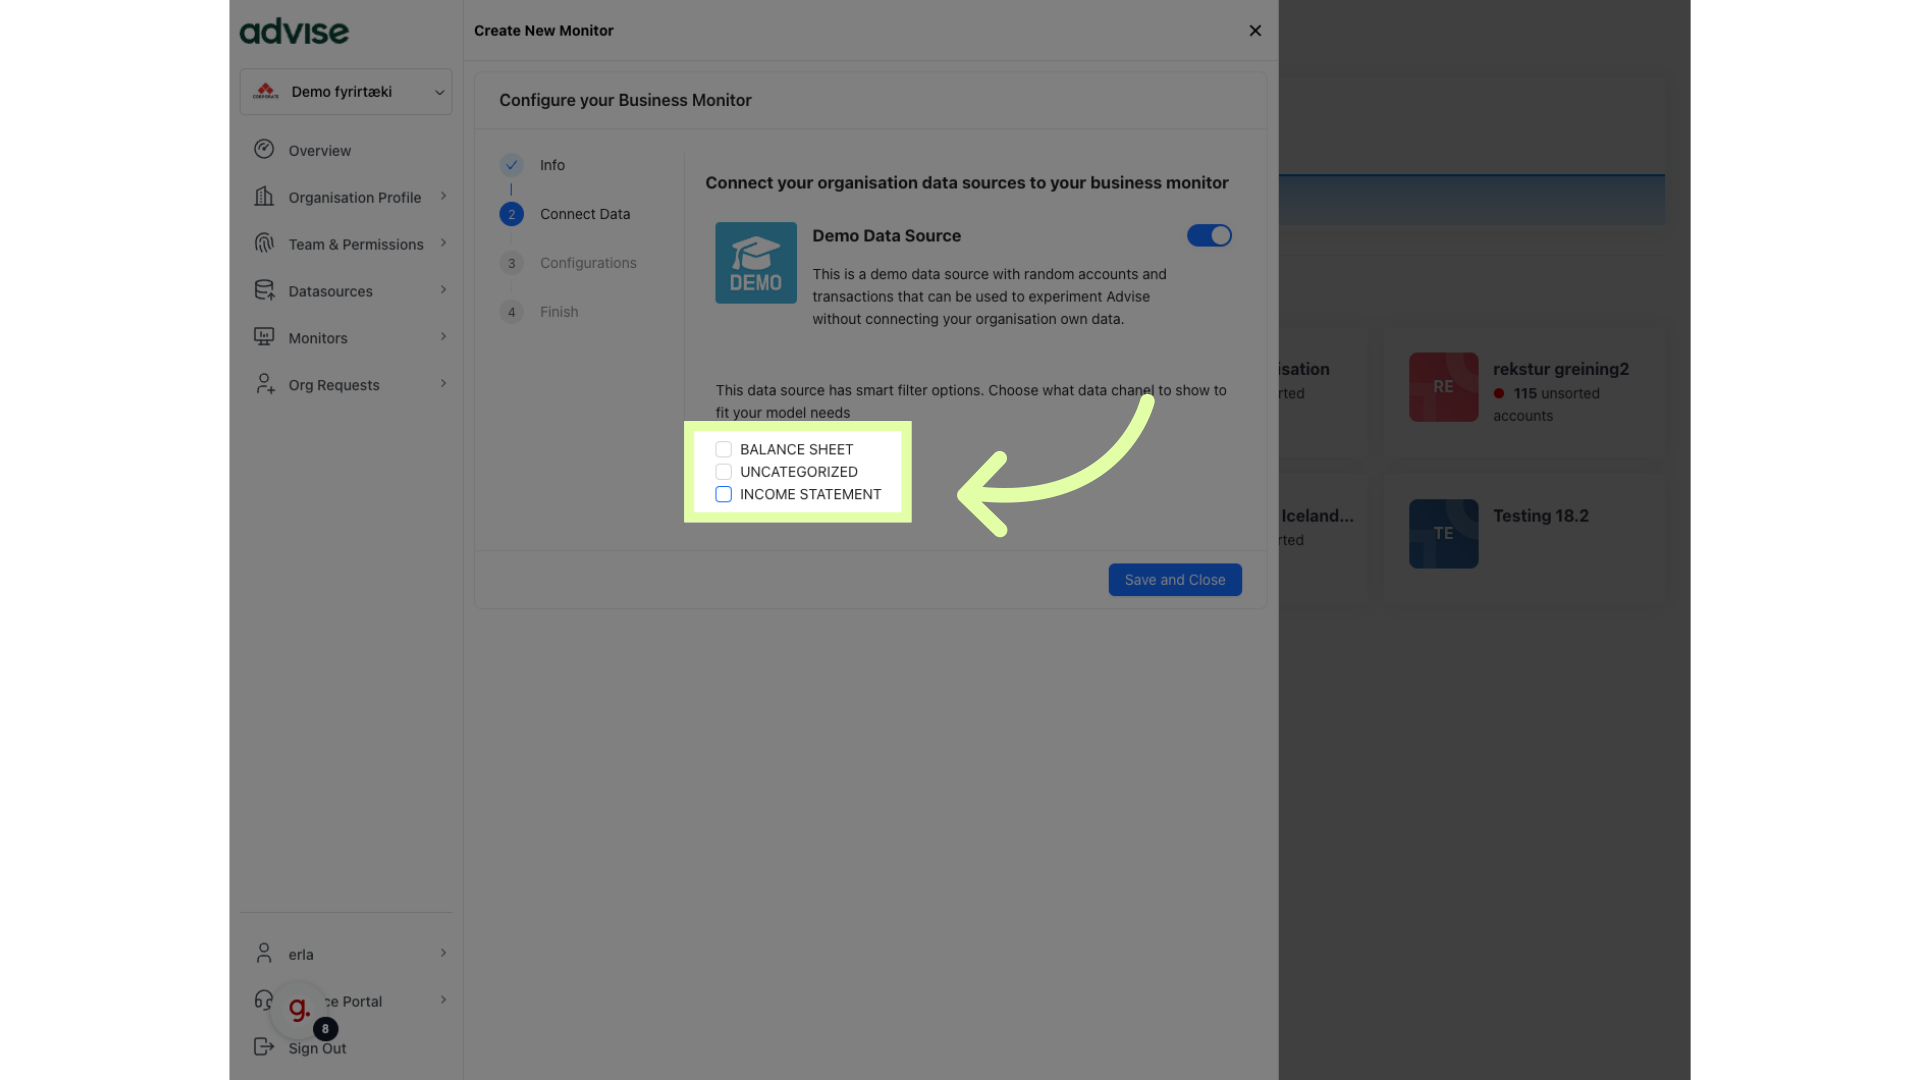
6. Select the data channel to show in your monitor
Choose what data channel you want to show in the Advise Business Monitor
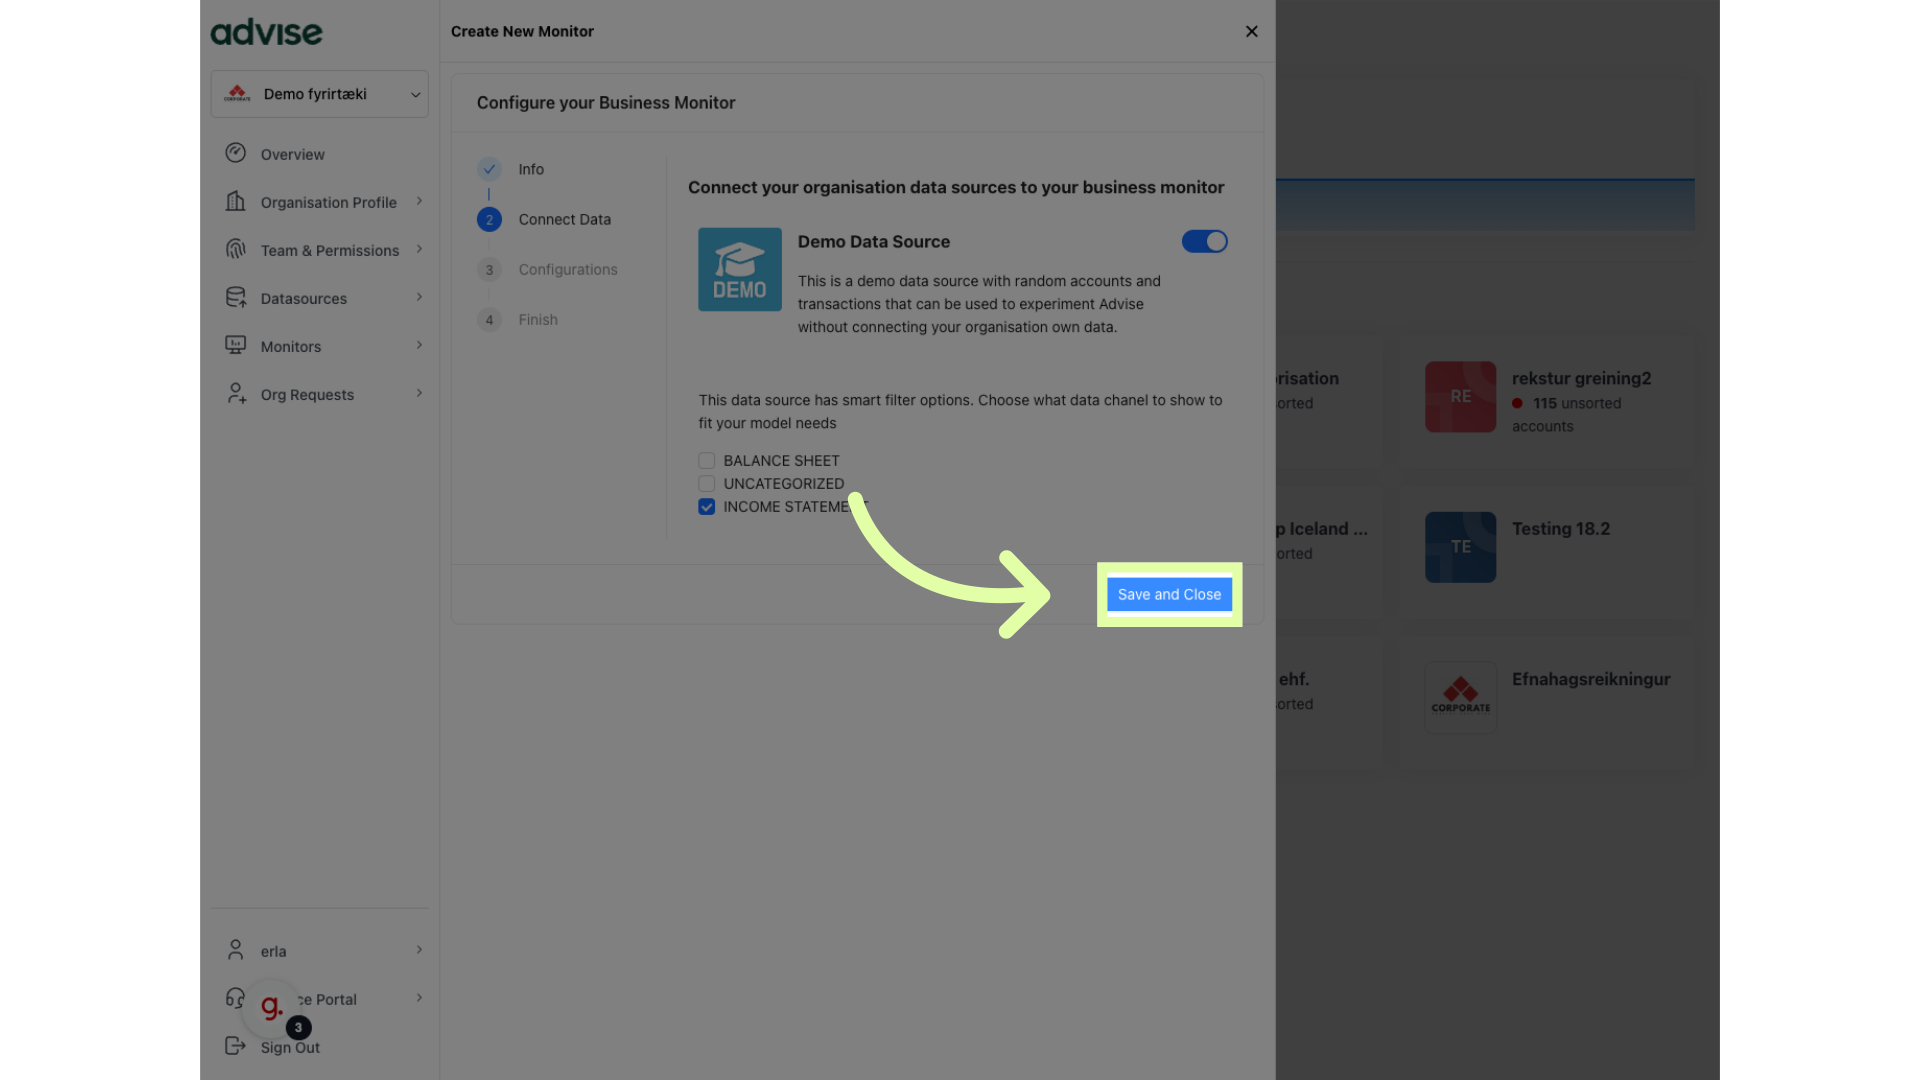
7. Click "Save and Close"
Save your changes.
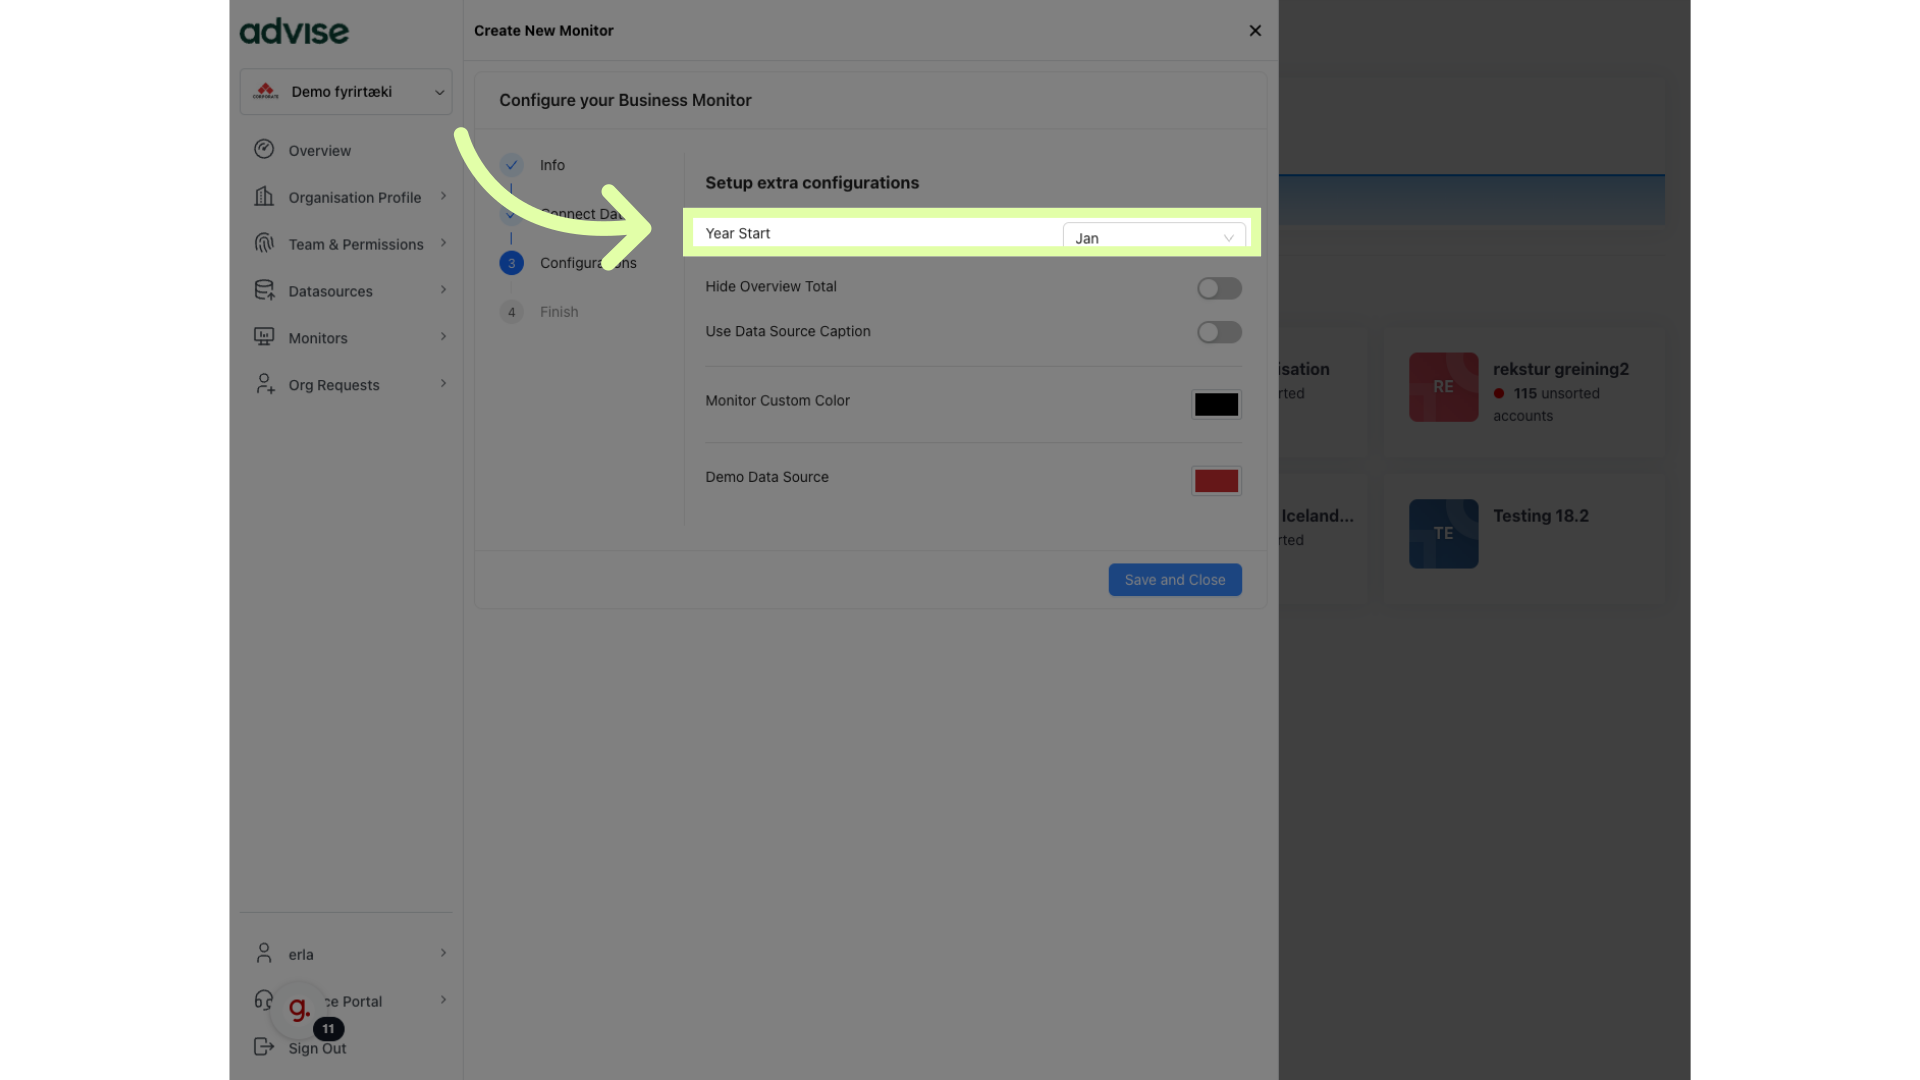
8. Click "Jan" and select the right month
Select the month your company´s business year start
9. Click "Hide Overview Total" if your data is only from Balance sheet.
Click Hide Overview Total if your data is only from Balance sheet.

10. Click here
Click if you want to choose another custom color in your monitor.
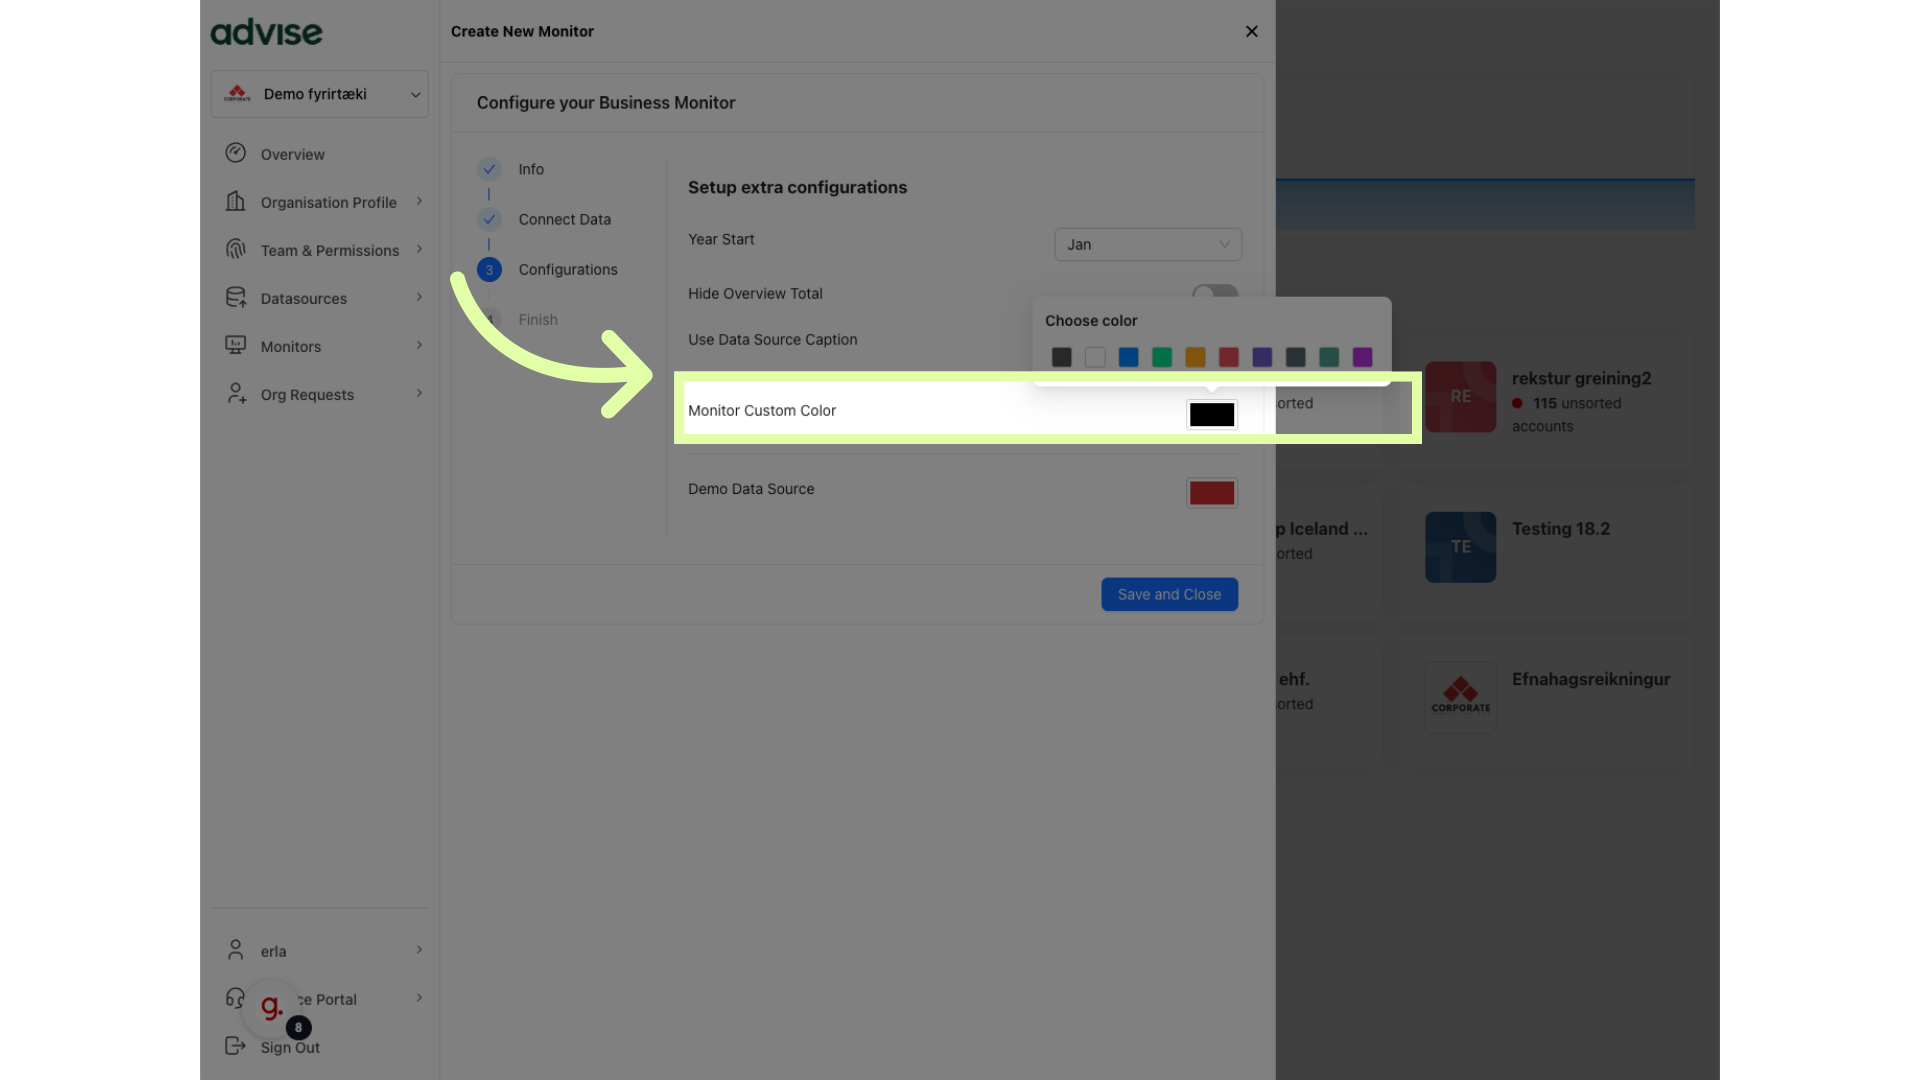
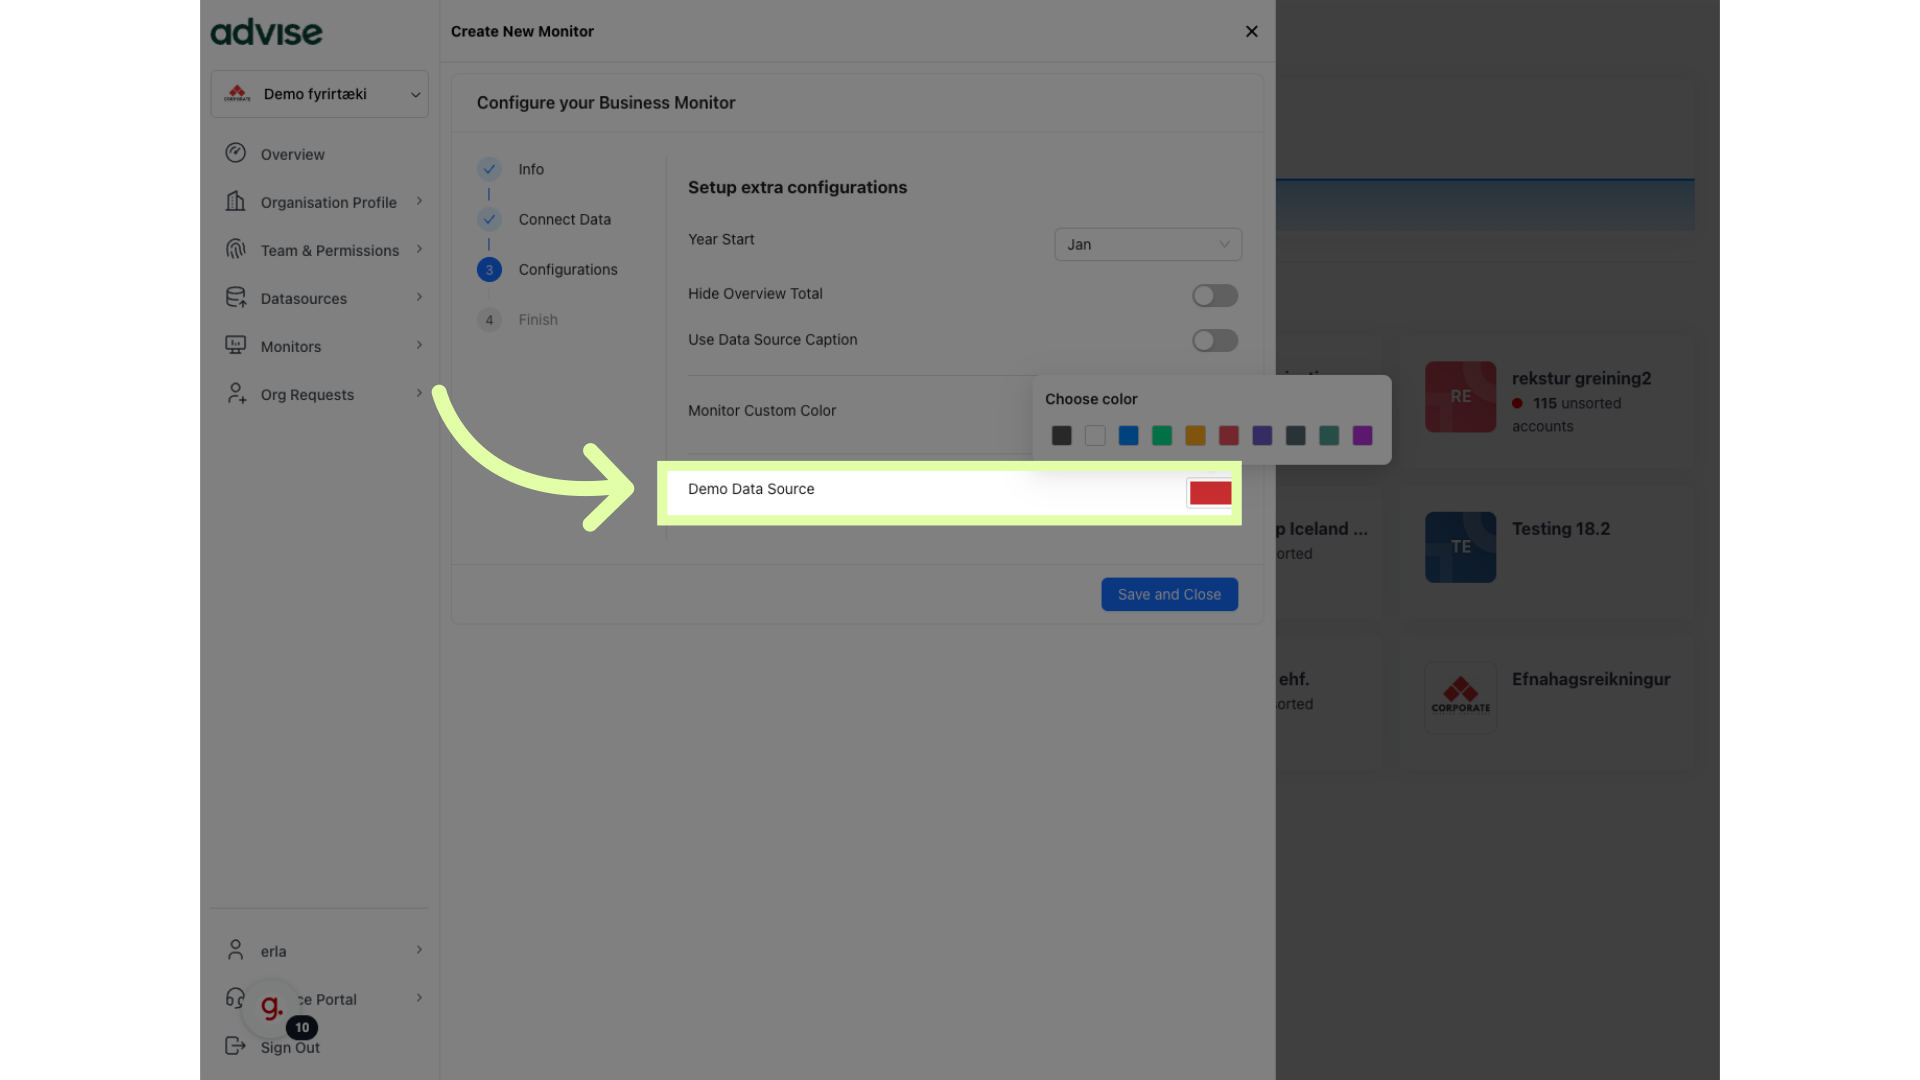
11. Click here to select new color of numbers in the monitor
Here you can change the color of numbers on the Business monitor (it´s relevant if you have more than one data source connected).
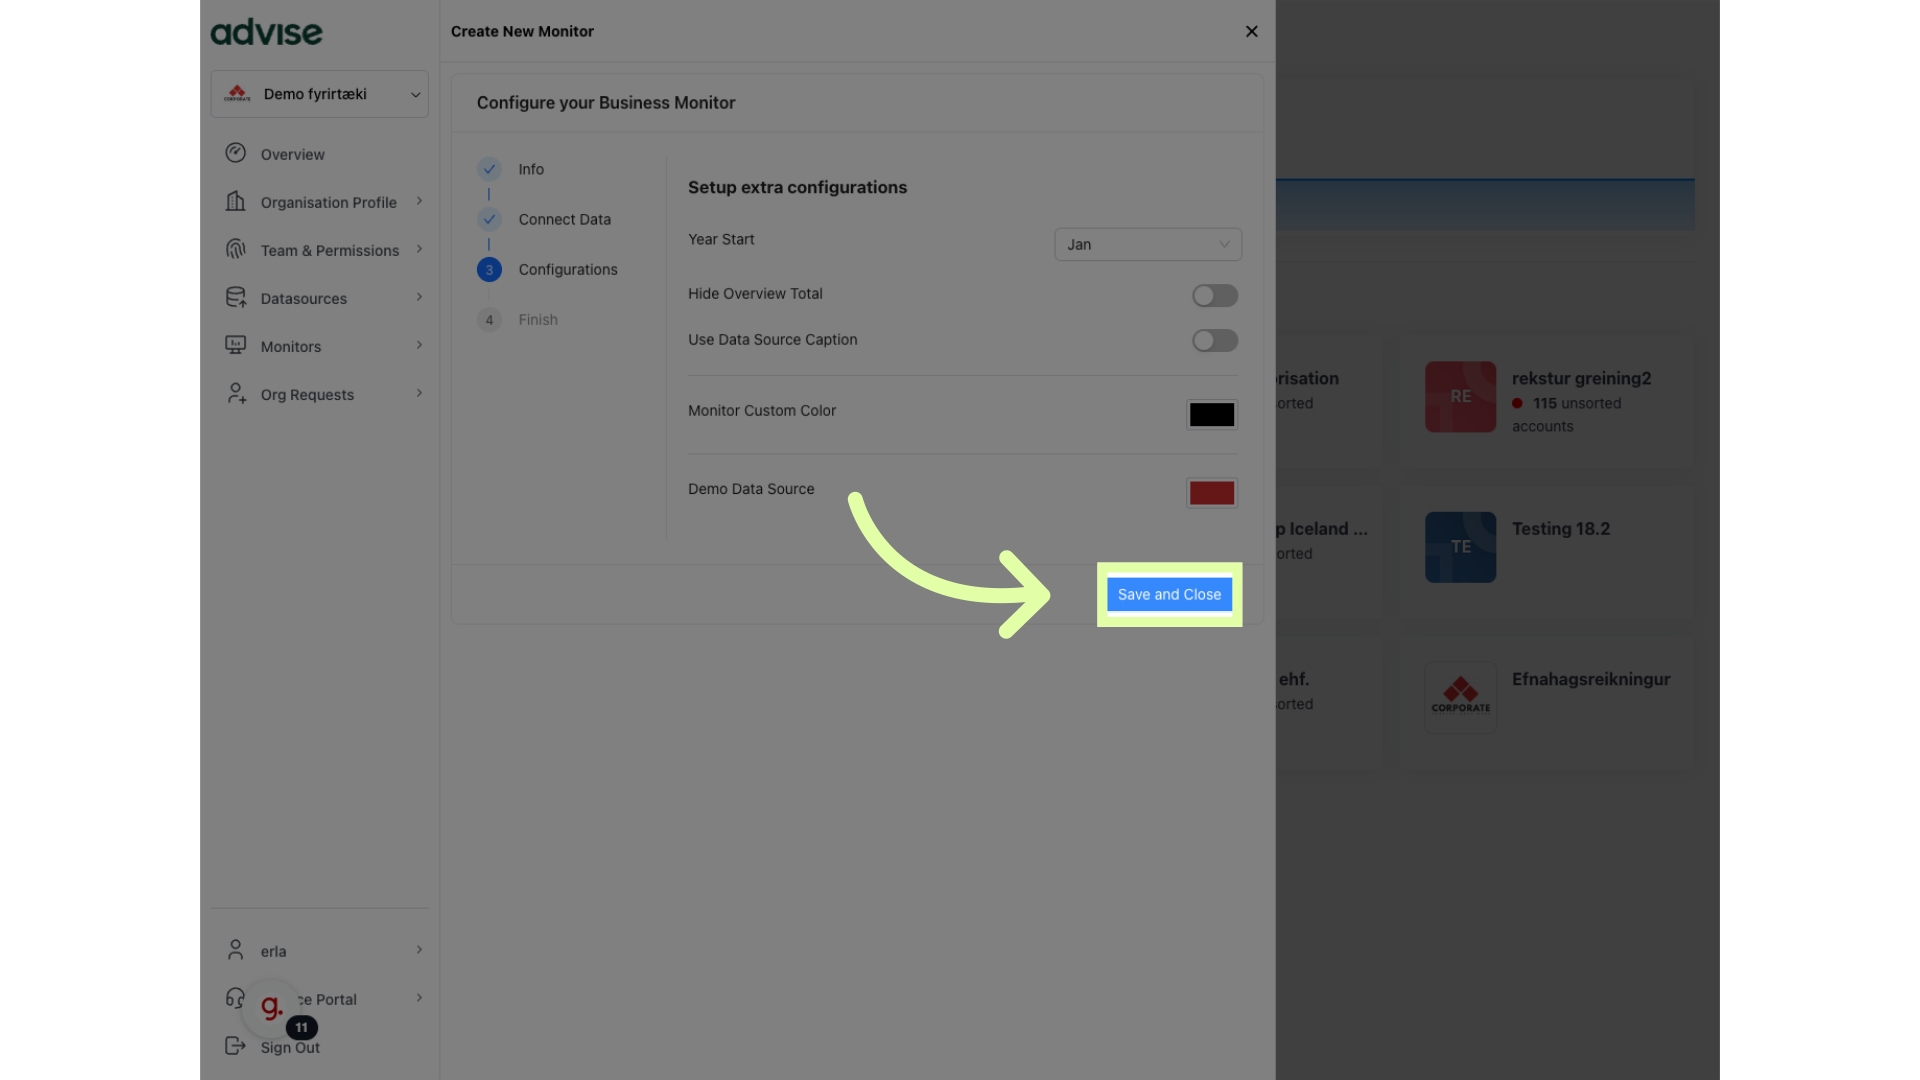
12. Click "Save and Close"
Save your changes.
This guide covered the process of creating a monitor in the Advise application.